To Do List with HTML, CSS and JavaScript

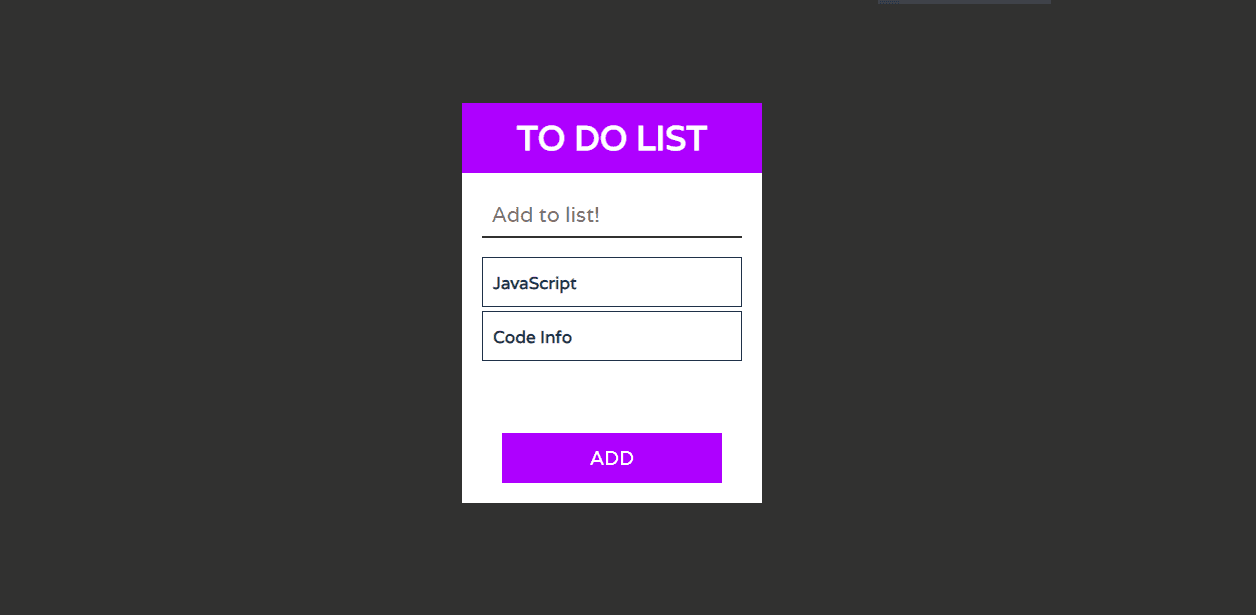
In this article, we will learn how to create To Do List using HTML, CSS. Earlier in this blog, I have shared a couple of JS article, but here in this blog, I am going to create a To Do List project with HTML, CSS and JavaScript. Apart from this, I have shared many Web design in my blog. Please make sure to check those as well.

What is a todo list? The definition is a easy one. It’s a list of obligations you need to finish, or things that you want to do. 

Below is the video tutorials. watch and practices.

Maximum usually, they’re organized in order of precedence. Historically, they’re written on a piece of paper or post it notes and acts as a reminiscence useful resource. As technology has advanced we had been able to create a todo lists with excel spreadsheets, word files, email lists, todo list apps, Microsoft to do and google to do list to call some. You may use a to do listing in your house and private life, or in the place of job.
 
Having a list of the whole lot you want to do written down in a single place manner you shouldn’t forget about something crucial. Via prioritizing the duties within the listing you intend the order in that you’re going to do them and can speedy see what needs your immediately attention and what responsibilities you could leave till a bit later.

You may like this:

Source Code:

If you like this To Do List project, then feel free to use it in your project. Copy the code by clicking on Copy button provided below. First, you have to create three files. One of them is HTML, other is CSS and third one is JavaScript. After creating the files, paste the code provided below.

<!DOCTYPE html>
<html lang="en">
<head>
    <meta charset="UTF-8">
    <meta name="viewport" content="width=device-width, initial-scale=1.0">
    <title>To Do List | By Code Info</title>
    <link rel="stylesheet" href="style.css">
    <script src="https://kit.fontawesome.com/a076d05399.js"></script>
</head>
<body>
    <div class="container">
        <h1 class="title">to do list</h1>
        <input type="text" class="input-box" placeholder="Add to list!">
        <ul class="line"></ul>

        <button class="btn">ADD</button>
    </div>
    <script src="main.js"></script>
</body>
</html>
*{
  padding: 0;
  margin: 0;
  font-family: 'Varela', sans-serif;
  box-sizing: border-box;
}

body{
    height: 100vh;
    background: #313130;
    display: grid;
    place-items: center;
}

.container{
    height: 400px;
    width: 300px;
    background: white;
    position: relative;
}

.title{
    width: 100%;
    height: 70px;
    background: #ae00ff;
    color: #fff;
    display: grid;
    place-items: center;
    text-transform: uppercase;
}

.input-box{
    position: absolute;
    top: 90px;
    left: 20px;
    height: 45px;
    font-size: 21px;
    border: none;
    width: 260px;
    border-bottom: 2px solid #313130;
    outline: none;
    background: transparent;
    padding: 0 10px;
    color: #313130;
}

/* .input-box::placeholder{
    color: #313130;
} */

.line{
    position: absolute;
    top: 150px;
    left: 20px;
    list-style: none;
    height: 120px;
    width: 260px;
    overflow: auto;
}

.line li{
    height: 50px;
    width: 100%;
    margin: 4px 0;
    position: relative;
    left: 0;
    border: 1px solid #1f3148;
    overflow: hidden;
}

.btn{
    width: 220px;
    height: 50px;
    position: absolute;
    left: 40px;
    bottom: 20px;
    background: #ae00ff;
    outline: none;
    color: #fff;
    border: none;
    cursor: pointer;
    font-size: 20px;
    transition: all 0.8s ease-in;
}

.btn:hover{
    background: transparent;
    border: 3px solid #ae00ff;
    color: #ae00ff;
    font-size: 20px;
    border-radius: 4px;
}

.line li h4{
    width: 320px;
    height: 50px;
    padding: 0 10px;
    display: flex;
    align-items: center;
    color: #1f3148;
    overflow: hidden;
    position: absolute;
    left: 0;
    top: 0;
}

.line li .deleteTask{
    height: 50px;
    width: 40px;
    z-index: 999;
    display: grid;
    place-items: center;
    position: absolute;
    right: -50px;
    background: #ae00ff;
    color: #e2e2e2;
    transition: 0.7 all ease-in-out;
}
.line li:hover .deleteTask{
    right: 0;
}

window.onload = function(){
    let task = document.querySelector(".input-box");
    let list = document.querySelector(".line");
    let addTask = document.querySelector(".btn");

    addTask.addEventListener("click", ()=>{
        list.insertAdjacentHTML(
            `afterbegin`,
            `<li>
                   <i class="fas fa-trash deleteTask"></i>

                   <h4>${task.value}</h4>
            </li>`
        );

        task.value = "";

        let deleteTask = document.querySelectorAll(".deleteTask");

        deleteTask.forEach((del) =>{
            del.addEventListener("click", ()=>{
                del.parentElement.remove();

            });
        });
    });
};

I hope you liked this snippet. If so, please share the blog and follow us in our social media profiles and stay connected with this blog. Thank you for visiting.

One comment

Leave a Reply

Your email address will not be published. Required fields are marked *